
My trip to Yogyakarta was a treasure trove of artistry. My friends in Malaysia advised me to check out the extensive batik designers in Yogyakarta, commonly known as Jokja by neighboring countries. There is batik fabric everywhere among the street vendors. Before I bought anything, though, I did a little research. I decided to take a batik painting class. What a great way to learn about the intricacies of the art form. Also, the class illustrated the time and talent required to develop these beautiful fabric designs. After the class, I bought several scarfs and batik paintings. You can see them out at https://southseagifts.com/
Step 1: Select Your Major Color: Batik Painting
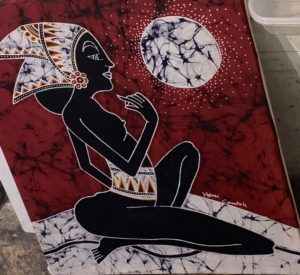
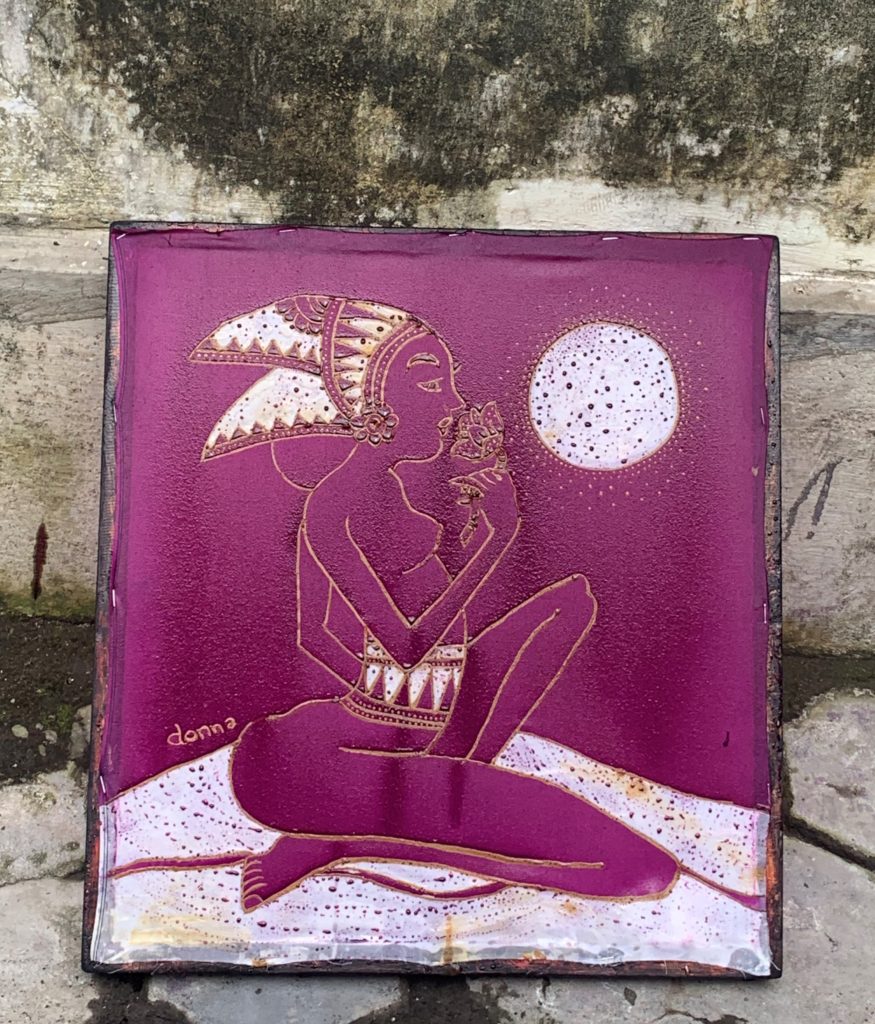
My excellent instructors at Batik Kelik greeted me warmly. The gallery is located on a quiet, lovely side street. I waved my taxi driver away and stayed for a class. Visit them at https://www.facebook.com/BatikKelik/. I selected an Indonesian maiden image, something I thought might be simple for a beginner. Here is the same painting completed by someone with experience.
Step 2: Apply wax
I wanted purple for the main color of my painting. The first step, then, was to apply wax to all the outlines: the maiden’s body, the scarf, the moon. The tool to do this is a canting. The wax is heated in a bowl and the canting is dipped into the dark brown wax and applied to the fabric like a fountain pen. Then, using a paraffin-based wax and a medium brush, I applied the hot wax onto all the large areas that will be white at the finish.
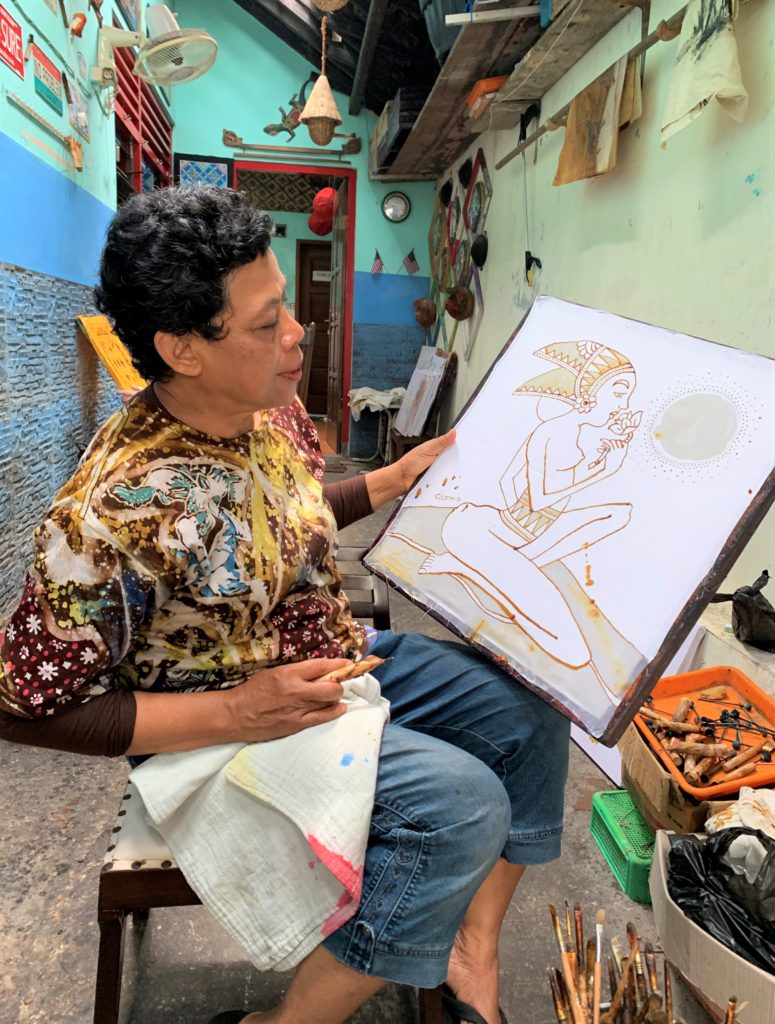
Step 3: Remove the Wax
As you can see from the images, I had trouble with the long lines of the form. For instance, I consistently dipped too much wax from the pot and spilled wax in several spots. The team wished they had charged me extra!
Step 4: First Color: Purple
The photo below shows the piece after the fabric is dipped into the first color, the color purple.
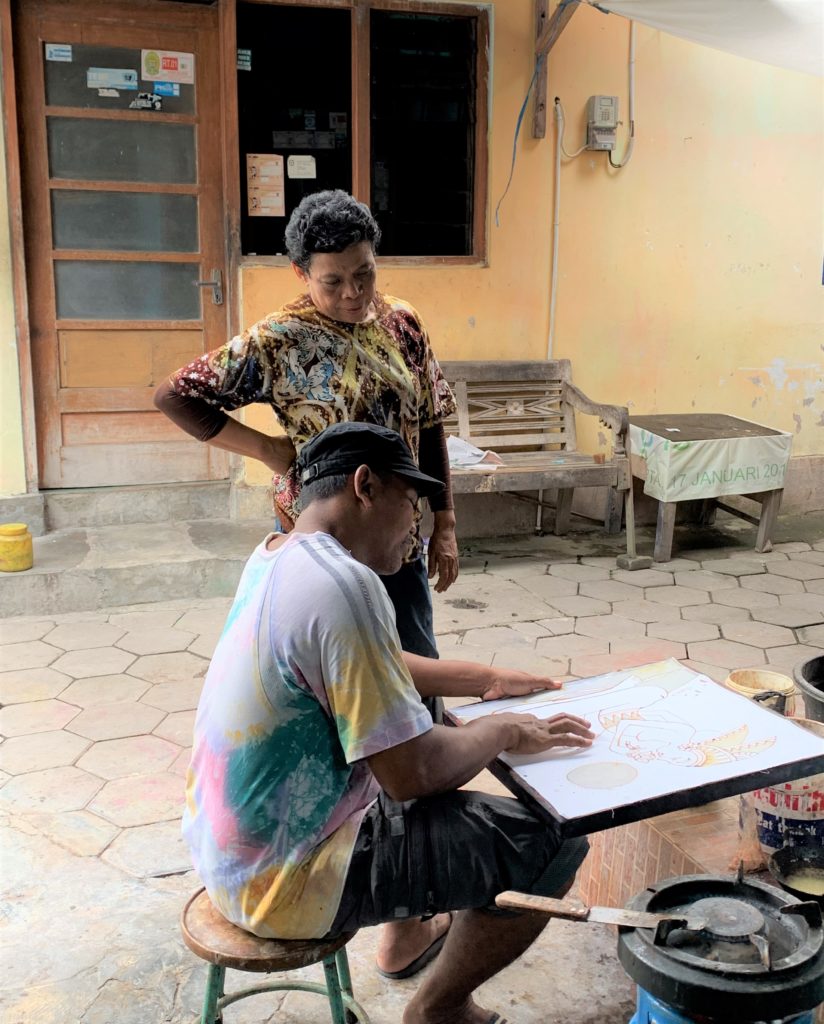
The talented staff kept the process going by removing the wax on portions of the painting because they were very fast and experienced. They used a scraping process and boiling water. The fabric was ready for the next round of wax! Then, I applied wax to the areas that will stay purple. I crinkled the areas that had paraffin, which resulted in the webbed effect for the background and the blanket. Now we’re ready for the next dye color: black.
Step 5: Second Color: Black
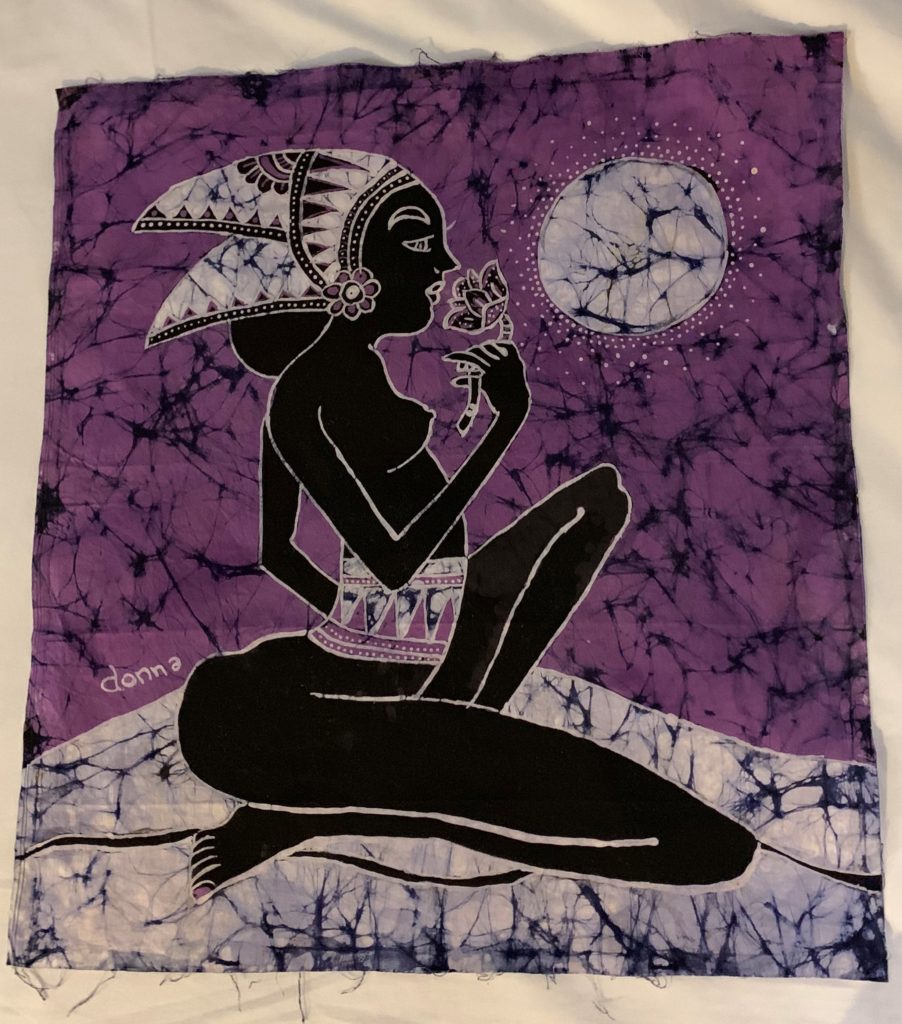
The black dye takes a short time to set. Next, the remaining wax is removed by hand. From here, a next step could be to add color by hand-painting the scarf, the flower, and the earrings that appear in the painting. I finished my first batik painting in five hours, because of the excellent help of the team at Batik Kelik.
Read about my adventures buying batik art: http://donnatravels.com/my-love-of-batik-is-waxing-and-waning.
What I Learned: Batik Painting
After this class, I knew the following things about buying original batik paintings:
- The colors on the front will be slightly brighter than the colors on the back.
- The painting should have some imperfections.
- But most importantly: Beauty is in the eye of the beholder!
Leave a Reply